An anecdotal story about how recipes travel  While living and working in Mesa, AZ, my wife developed a process for applying slip to bone dry clay to achieve a crackled surface that looks great on her work. The white slip recipe used at the Mesa Arts Center is a well loved and simple recipe from Jeff Oestrich. To achieve the ideal consistency for crackle, the slip was made at a specific gravity of ‘1.43’ with the addition of Darvan 7 to create a cream-like viscosity. When we relocated to Oakland, CA, the recipe my wife used successfully for years no longer worked. All of the ingredients were the same except for the water source, so we tested the recipe by adjusting the specific gravity and Darvan 7 ratios with no success. When the specific gravity was too low it would settle in the bucket, too high and it would flake off; too little Darvan 7 and it would be too thick, too much and it wouldn’t crackle. It wasn’t until we were testing some of the glaze recipes we also knew and trusted from Arizona that I realized they too were no good in our new location; all except for one glaze recipe that included “Epsom Salt”; that one recipe looked correct. It was an “ah-ha” moment for me! The water in Mesa, AZ comes from the Salt river, which yes is just a name, but the water there tastes funky and as it turns out, is full of soluble minerals. The same Oestrich slip recipe in Oakland required a specific gravity of ‘1.43’ with an addition of BOTH Darvan 7 and Epsom Salt to produce a crackle slip that would adhere to the bone dry clay surface, stay in suspension in the bucket, and of course crackle. We solved a mystery and the work resumed, for a while… until a few months ago, when we relocated again, this time to Ypsilanti, MI. My wife got set up to make work only to realize that her slip recipe, once again, was broken. Long story short, in Michigan her slip recipe needs a higher specific gravity, but neither Darvan nor Epsom salt to make the slip crackle. Why don't we include water? 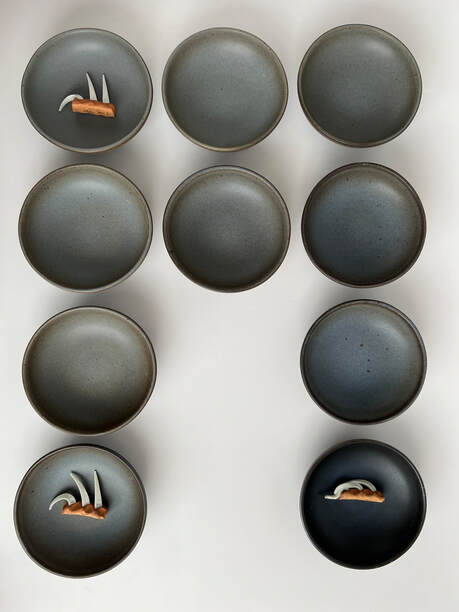 For years now, I have been mystified as to why every glaze recipe I have ever seen published or in ceramic studios doesn't seem to list water as one of the ingredients. It would be like a cake recipe that omits flour, assuming everyone knows how to add it ‘to consistency’. As explained above, I understand that glaze recipes don’t always travel well, but we are missing a key ingredient, or rather a key understanding on how to make glaze. I wrote this article to shed some light on the power of water, and how you can make your glazes work optimally for you all the time. How to Measure Water in Glaze To get started on identifying the ideal water amount for each glaze in your studio I recommend you start by looking at glazes as they come out of the kiln. When you get a great result out of a firing immediately go to that bucket of glaze and see how easily it mixes. Assuming the glaze hasn’t settled hard, take a specific gravity measurement and record that as your target specific gravity. Most studios use graduated cylinders, filling up to the 100ml line with glaze and weighing it. In this example, specific gravity = weight of glaze / weight of water (100g). Now that you have a target specific gravity, next time you go to make a batch of glaze, start with 70% water in your bucket (ie: For every 1000g of dry materials, start with 700g H2O). I will then add my dry ingredients into the water. At 70% you are unlikely to have too much water, but enough to make a wet slurry. Once all of the dry ingredients have been added and mixed, add water in 5% increments until it is thin enough to run through a sieve. Check the specific gravity against your target. As you add more water the specific gravity will drop. Continue to add water in 5% increments until you reach your target and then record the results. Let the glaze sit overnight to give the dry materials time to wet. When you come in the next day, look for signs of settling as you stir it up. Apply glaze and fire a test tile to verify your result. If your test tile comes back looking good, then rock and roll, but if there is an anomaly, there are a couple variables to consider: Did you use the same application method on your test tile as the piece that came out of the kiln prior? Did the kiln in either scenario under or over fire, or reduce/oxidize differently? Best of luck clay nerds! If you have questions about anything explained in this article send me a message.
0 Comments
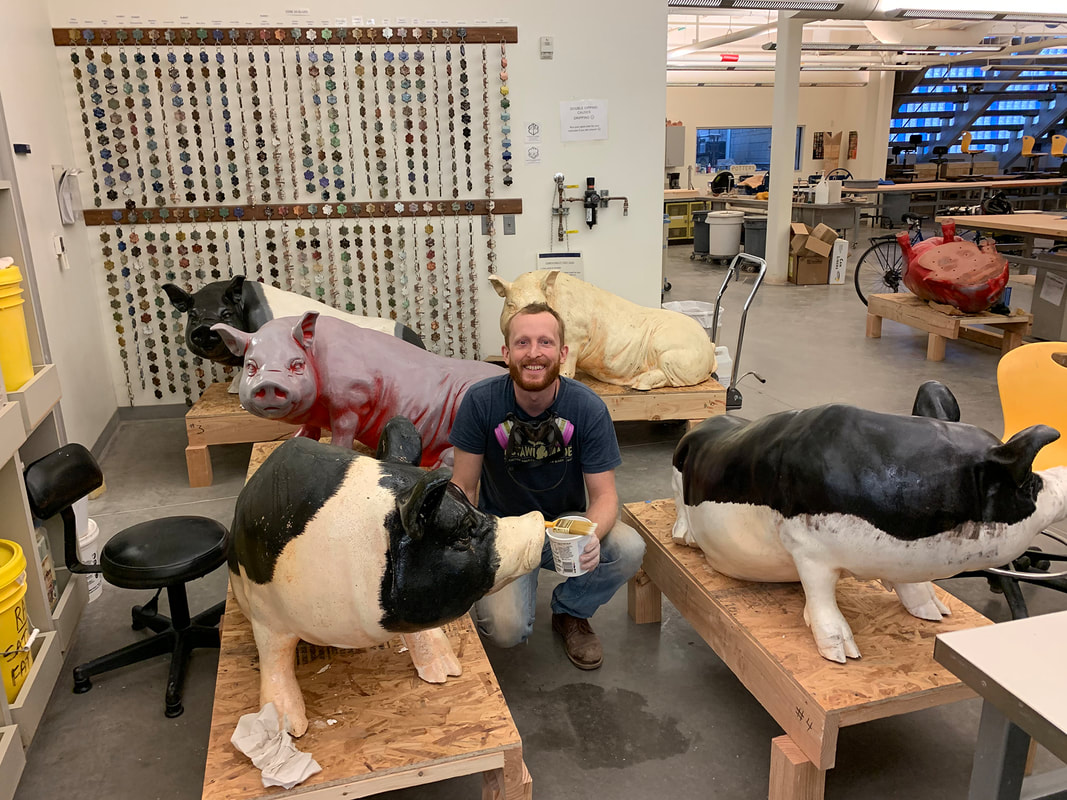
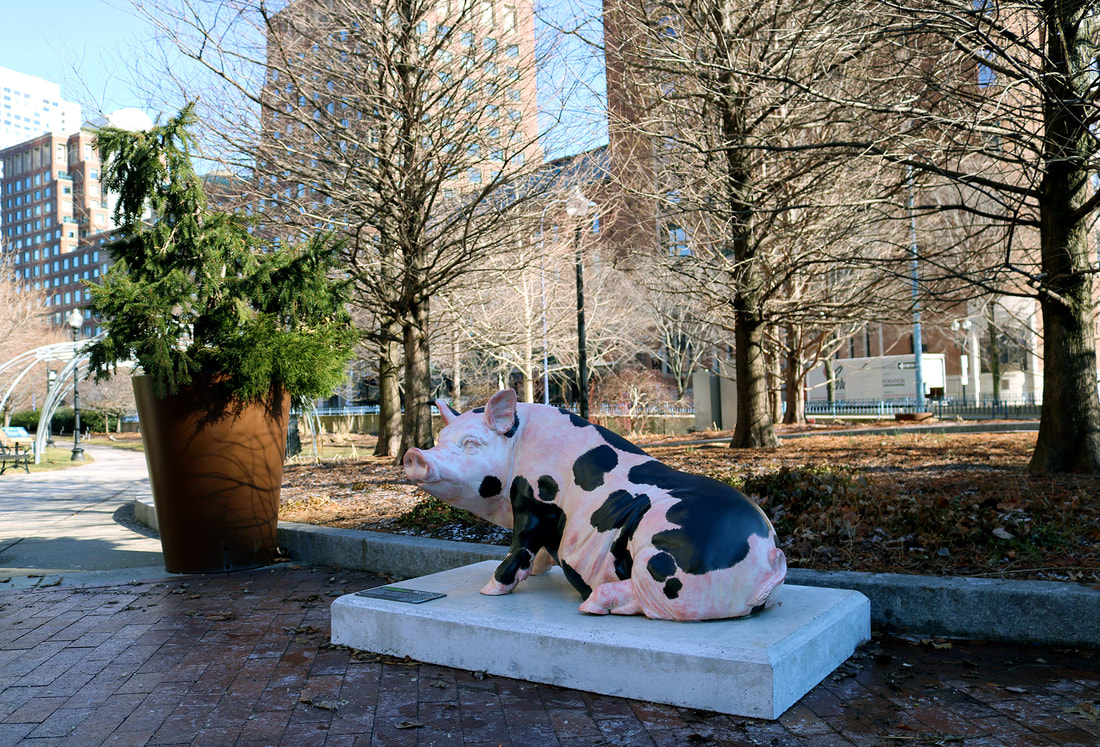
 I am often asked: Why cows? The cow is the symbol for America’s landscape; our resources, history and our cultural beliefs. During the years while out of school I began to work on farms taking care of livestock; I wanted to know firsthand what kind of effort was needed to grow and raise the food I eat. The farmers I met during this exploration are incredibly community minded, trading resources and labor with one another, and taking the utmost care to be good stewards of the land. It is this sense of connection, or rather disconnect from it that has become the focus of my art. In the United States people have favored urban migration over the agrarian lifestyle, in doing so we have forfeited responsibility to care for our resources, handing that “burden” over to factory farming. The disappearing family farm model not only provides an income, but it is a homestead, and the health of that environment is just as important to the rancher or farmer as it is to the livestock living there. Cows have symbolized the prosperity and domestication of our land. Nowadays images of the American pasture have been abstracted, repurposed for product consumption. We are sold a belief that by proxy we still have agency to make a difference in how our food is handled, just by spending a few bucks more you can feel good knowing your beef was grass fed. It has become so easy to be complicit, to claim ignorance over our impact and depletion of resources. Through my art I am looking to reestablish the connection between value and stewardship, so that we can as a country sustain economic and community health. 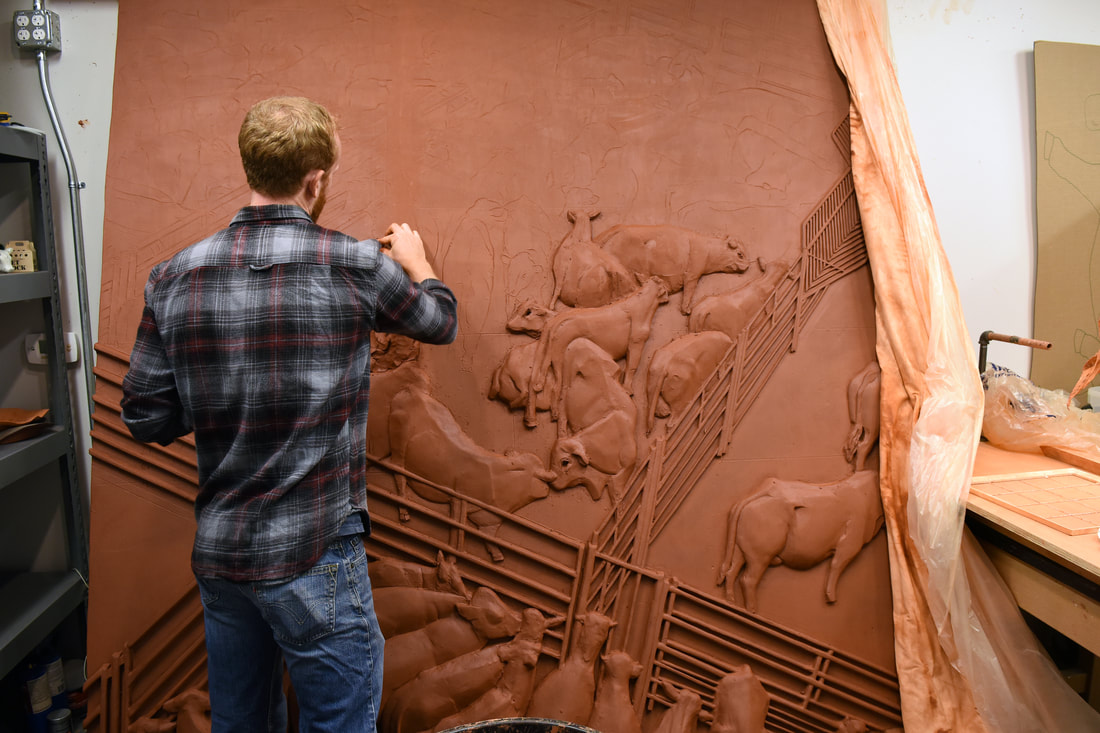  The other day I was updating my website when I realized that I had no place for sharing my process images or ideas. I use Instagram @kayserceramics for less formal snapshots of what life as an artist looks like, but social media can get exhausting and it doesn’t lend itself to slow, mindful introspection. I decided it might be helpful for me to set aside some time every month to write and reflect on what I am creating and why. Here is my first of hopefully many posts; I hope you enjoy. For those of you who don’t know me personally, I am a consummate craftsman. I take great care in making well crafted, delicate and thoughtful artwork. Ideas for my work are mostly born from personal experiences and reading, and take form through the exploration of materials and process. I have never kept a sketchbook; instead I journal, or as my wife will attest, I leave inscrutable half-formed thoughts on sticky notes all over the house. There is a careful balance I am always trying to strike between having a plan before I start making and letting the process guide me. If I wait on an idea to fully form before diving into the studio I get creatively constipated, but if I am hasty to get into the studio I can waste a lot of time working on something where the finished piece is garbage. Some of my best strategies for tapping into creativity have to do with creating structure:
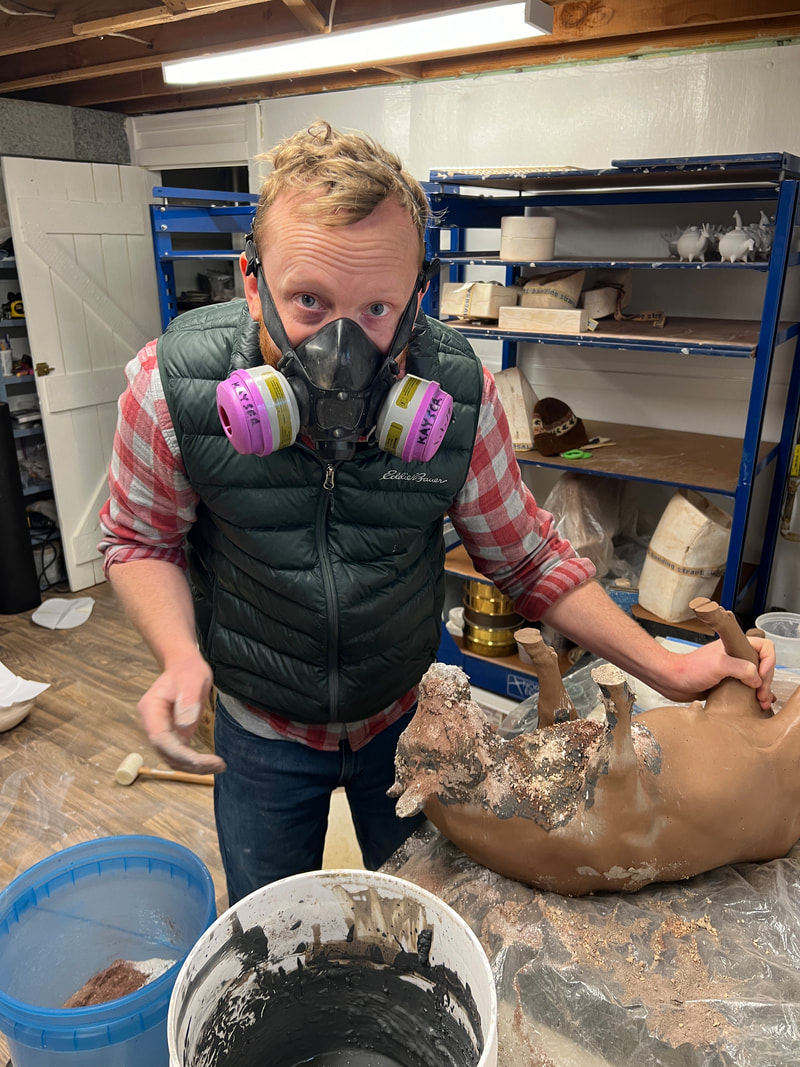
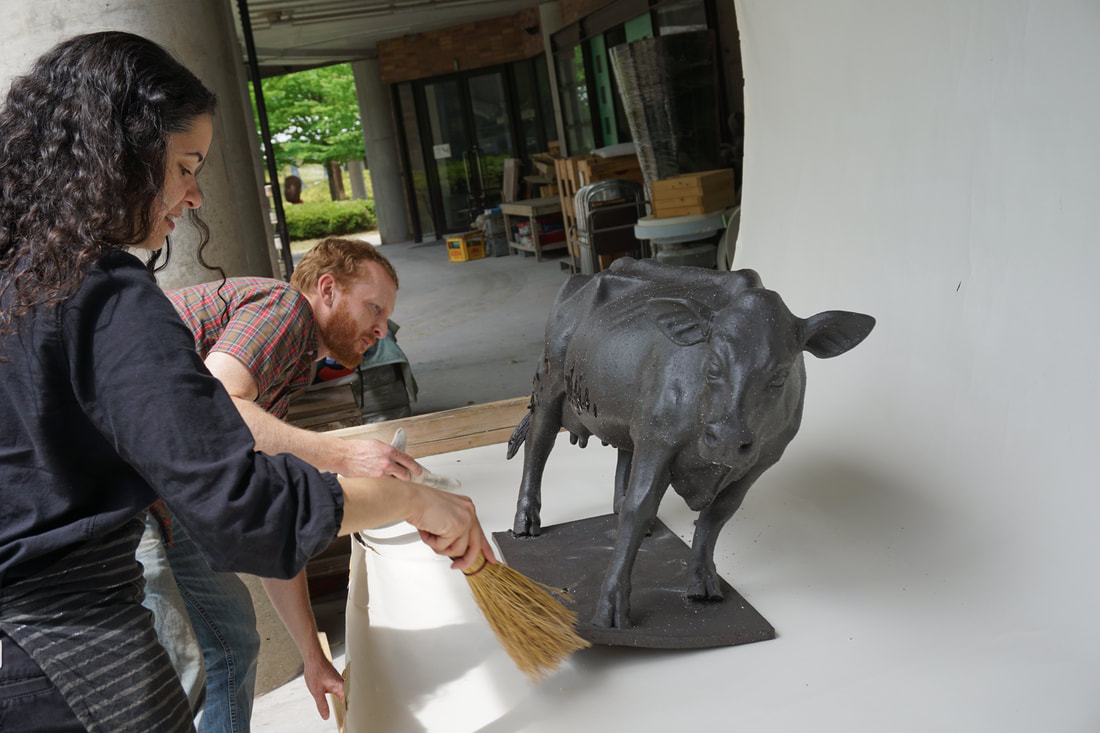
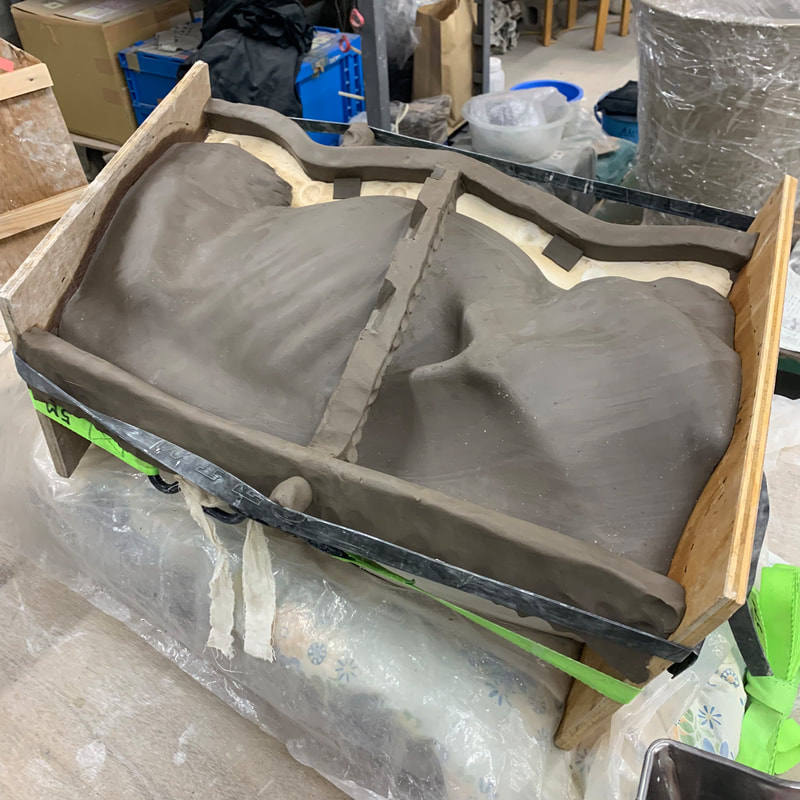
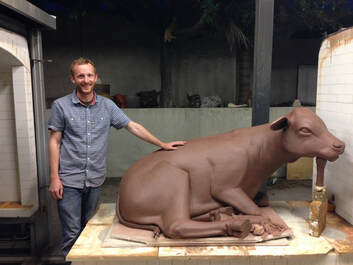
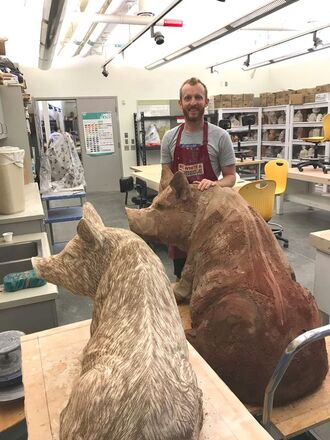 Once I am ready to get my hands dirty, I often start by making a maquette, a solid clay gestural model, to flesh out the composition. It often takes me a couple of iterations before I am ready to scale up. I really enjoy the slow and methodical process of rendering animals; their anatomy is so dynamic and expressive it makes for a good technical challenge. The formal exercise of rendering is the first part of how I make my artwork. Because of how long it takes and the inherently high levels of failure endemic to ceramics, the next phase in my creative process is mold making. For me, mold making is a ‘save’ button on my work. It allows me to take my time up front without the final pieces becoming too precious to take risks. Once I have a plaster mold made, which is another long process, I get to experiment and play with the castings. The final resulting sculptures vary. Some are cast in bronze, for others the final material is clay mixed with oozing chunks of feldspar, fertilizer and wildflower seeds, or wild clay I scavenge while hiking. I push the integrity of the clay often to a breaking point, but therein lies fresh and exciting possibilities. Through the rendering and mold making process I retain absolute control over each sculpture, but when I begin casting the work changes energetically. It becomes a dance between myself and the material, where each takes a turn leading. I have to stay observant, gleaning inspiration even in a failed experiment, because that is the way my work moves forward.
|